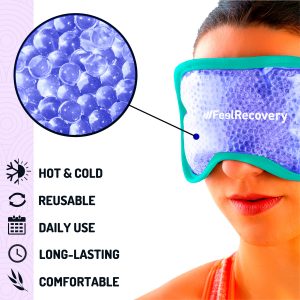
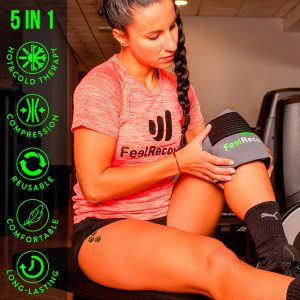
Hot or cold gel packs are an excellent solution for reducing inflammation from muscle pain or injury. Since ancient times heat and cold has been used to improve the discomfort of muscle inflammations.
However, when and how to apply a heat or cold gel pack to reduce inflammation? If you don't know how to use them correctly to reduce inflammation and pain, take a look at this post where we tell you all about it!
At what point in an injury is it best to apply cold, heat or contrast therapy?

Hot or cold gel packs are part of a therapy to reduce inflammation in any part of the body. As we have already mentioned, both temperatures help to improve the symptoms of inflammation in muscular injuries or pain.
There are acute and chronic injuries, so according to the type of injury will depend on the use of cold, heat or a contrast of both. Therefore, before using either of these temperatures we must know their mechanism of action in the body.
To dispel your concerns we will explain the ideal moment to apply the cold or heat gel packs:
When is it better to apply cold?
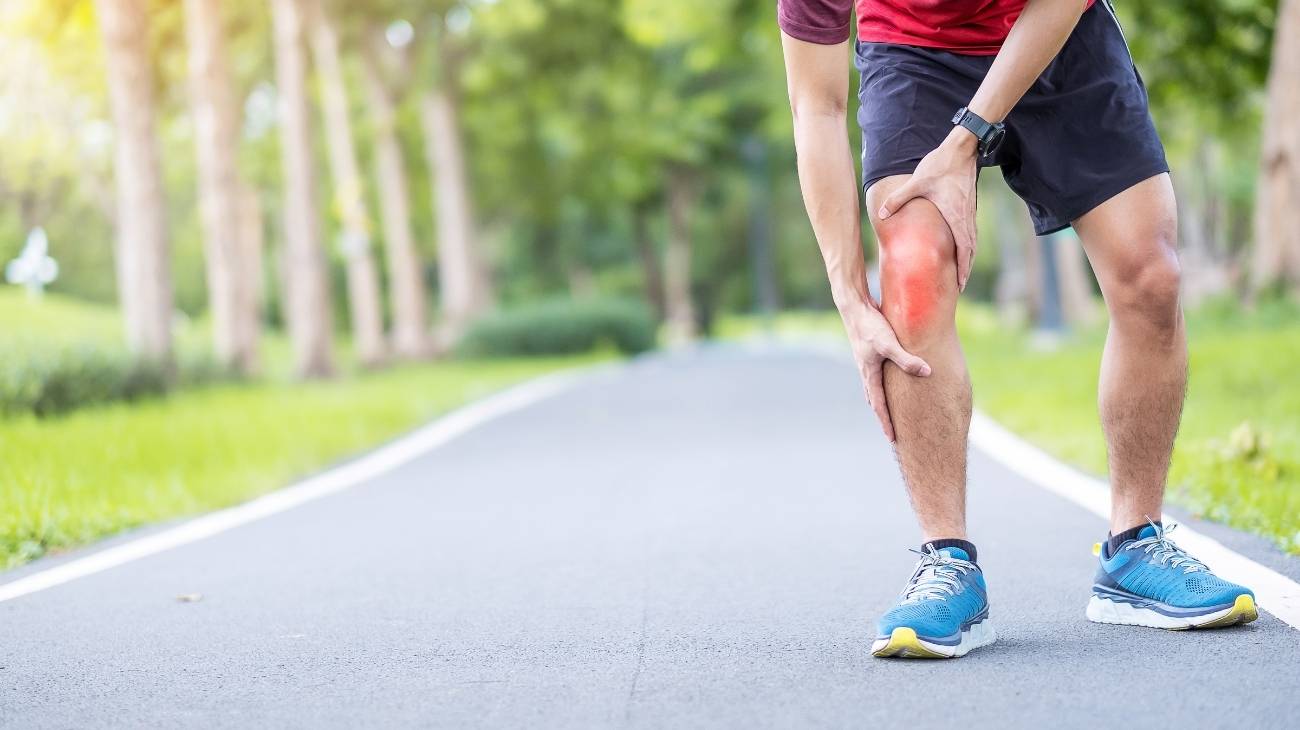
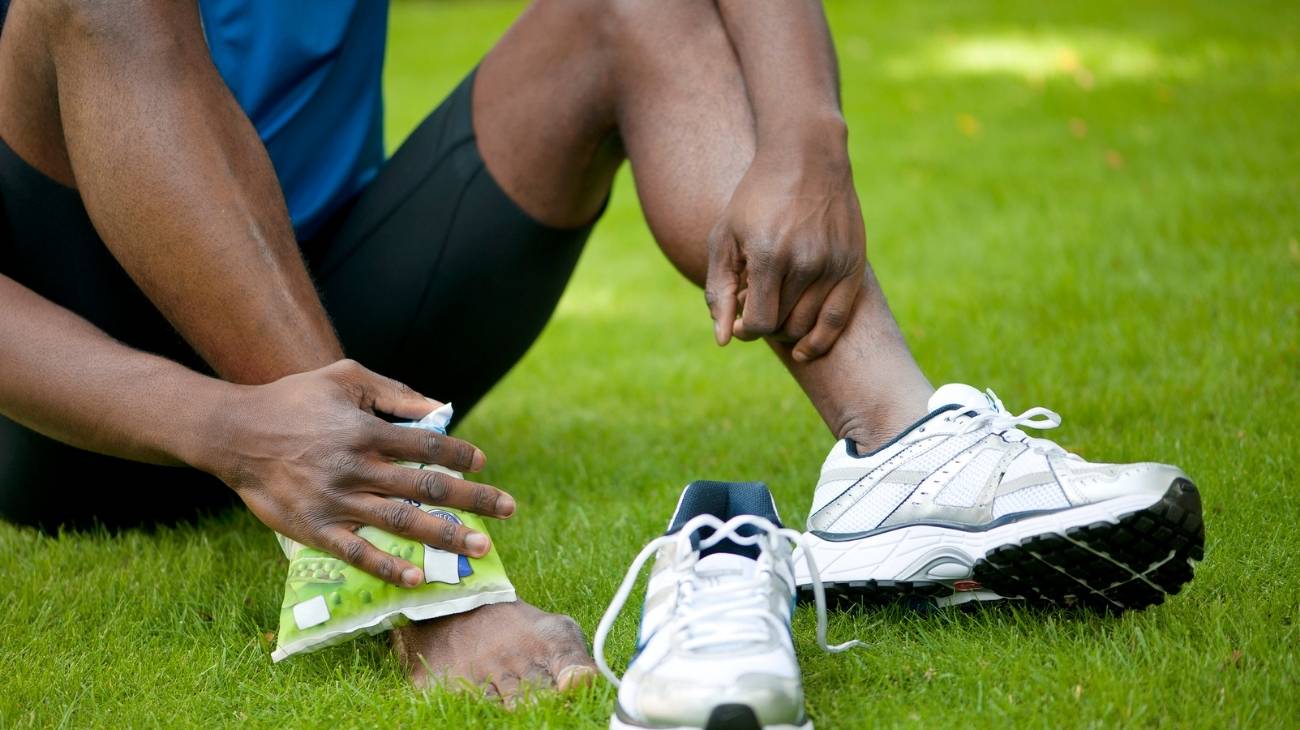
Cold packs are indicated for acute musculoskeletal injuries resulting from a blow, sprain or muscle strain. It is extremely important that they are applied during the first 48 hours after the injury. The cold has an anti-inflammatory mechanism of action, because it contributes to reducing pain and increasing volume in the affected area.
Applying cold immediately after the injury has a vasoconstriction effect and consequently a decrease in blood flow. This causes in the affected area greater control of inflammation, less damage to adjacent tissues and considerable improvement of pain. That is why, when any injury occurs where cold is immediately applied, no bruising occurs.
Also, it can be used in the following situations:
- Minor burns: The first 48 hours of a first-degree burn are crucial to avoid the appearance of skin complications. Cold is a powerful vasoconstrictor that improves pain, tissue damage, oedema formation and prevents blistering.
- Migraines and headaches: Cold temperatures are very useful to decrease the intensity of pain because they have an analgesic action.
- Muscle pains from intense training: The cold causes a relaxation effect in the muscle fibres and is therefore ideal for improving pain and flexibility.
- Reddening of the skin: When cold is applied to a reddened area of the skin, a better venous and lymphatic return is generated which improves the appearance of the skin.
- Blows, traumas or sprains: Any musculoskeletal injury will always cause damage at the level of muscle fibres and consequently inflammation and pain. Placing cold generates two beneficial effects, the relaxation of the muscle fibres and vasoconstriction to avoid oedema and inflammation.
When is it better to apply heat?
Heat is an excellent controller of muscle spasms and is ideal for non-traumatic musculoskeletal inflammations. It is therefore very effective for injuries that cause inflammation and chronic pain.
Applying heat to conditions at the level of muscles and ligaments helps to restore elasticity and flexibility. The high temperatures of the heat induce vasodilation which generates greater blood flow. In this way, there is a greater distribution of nutrients and oxygen to the damaged tissues.
This is why it is the ideal non-pharmacological treatment to restore mobility to the affected area. It is widely used in cases of:
- Chronic diseases such as arthritis and arthrosis of the knee: These pathologies generate an inflammation in the joints that produce a lot of pain and limitation of movements. Heat therapies are very useful to improve the pressure on the joints and therefore the pain.
- Low back pain, tension and muscular pain: Heat compresses considerably relieve sensitivity and continuous pain. The heat improves the blood flow in the tissues and therefore there is more oxygenation and nutrition in the affected area.
- Improved flexibility and mobility: In case of stiffness and tension of ligaments and tendons the heat and better relaxation. Although the cold contributes to improve considerably, the effect of heat is usually more durable. It is useful in tired feet, sciatica, stiffness of the neck, neck and back spasms, lumbago and cervical pain.
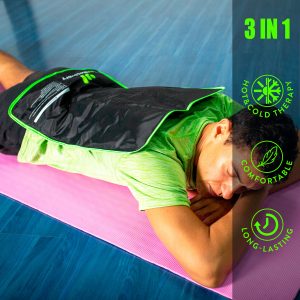
When is it better to alternate hot and cold?
Although hot and cold temperatures have their great health benefits, alternating them can be very useful. This therapy of contrasting hot and cold temperatures produces a vasoconstriction and vasodilation that stimulates blood circulation.
This increased blood flow causes a purification of the affected tissues so there is a decrease in inflammation, stiffness and pain. This type of non-pharmacological treatment is used when the injury is chronic and the cold or heat have not worked individually.
Therefore, they are very useful in the rehabilitation of sports injuries, circulatory problems, lumbar and cervical pain. Furthermore, it is a treatment with fewer side effects, very accessible and much more economical.
Bestseller
-

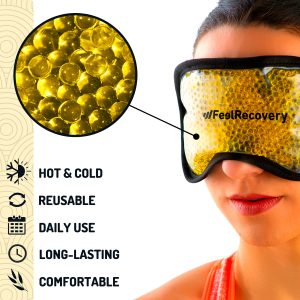
Gel Eye Mask for Puffy Eyes (Gold/Black)
$11.95 -

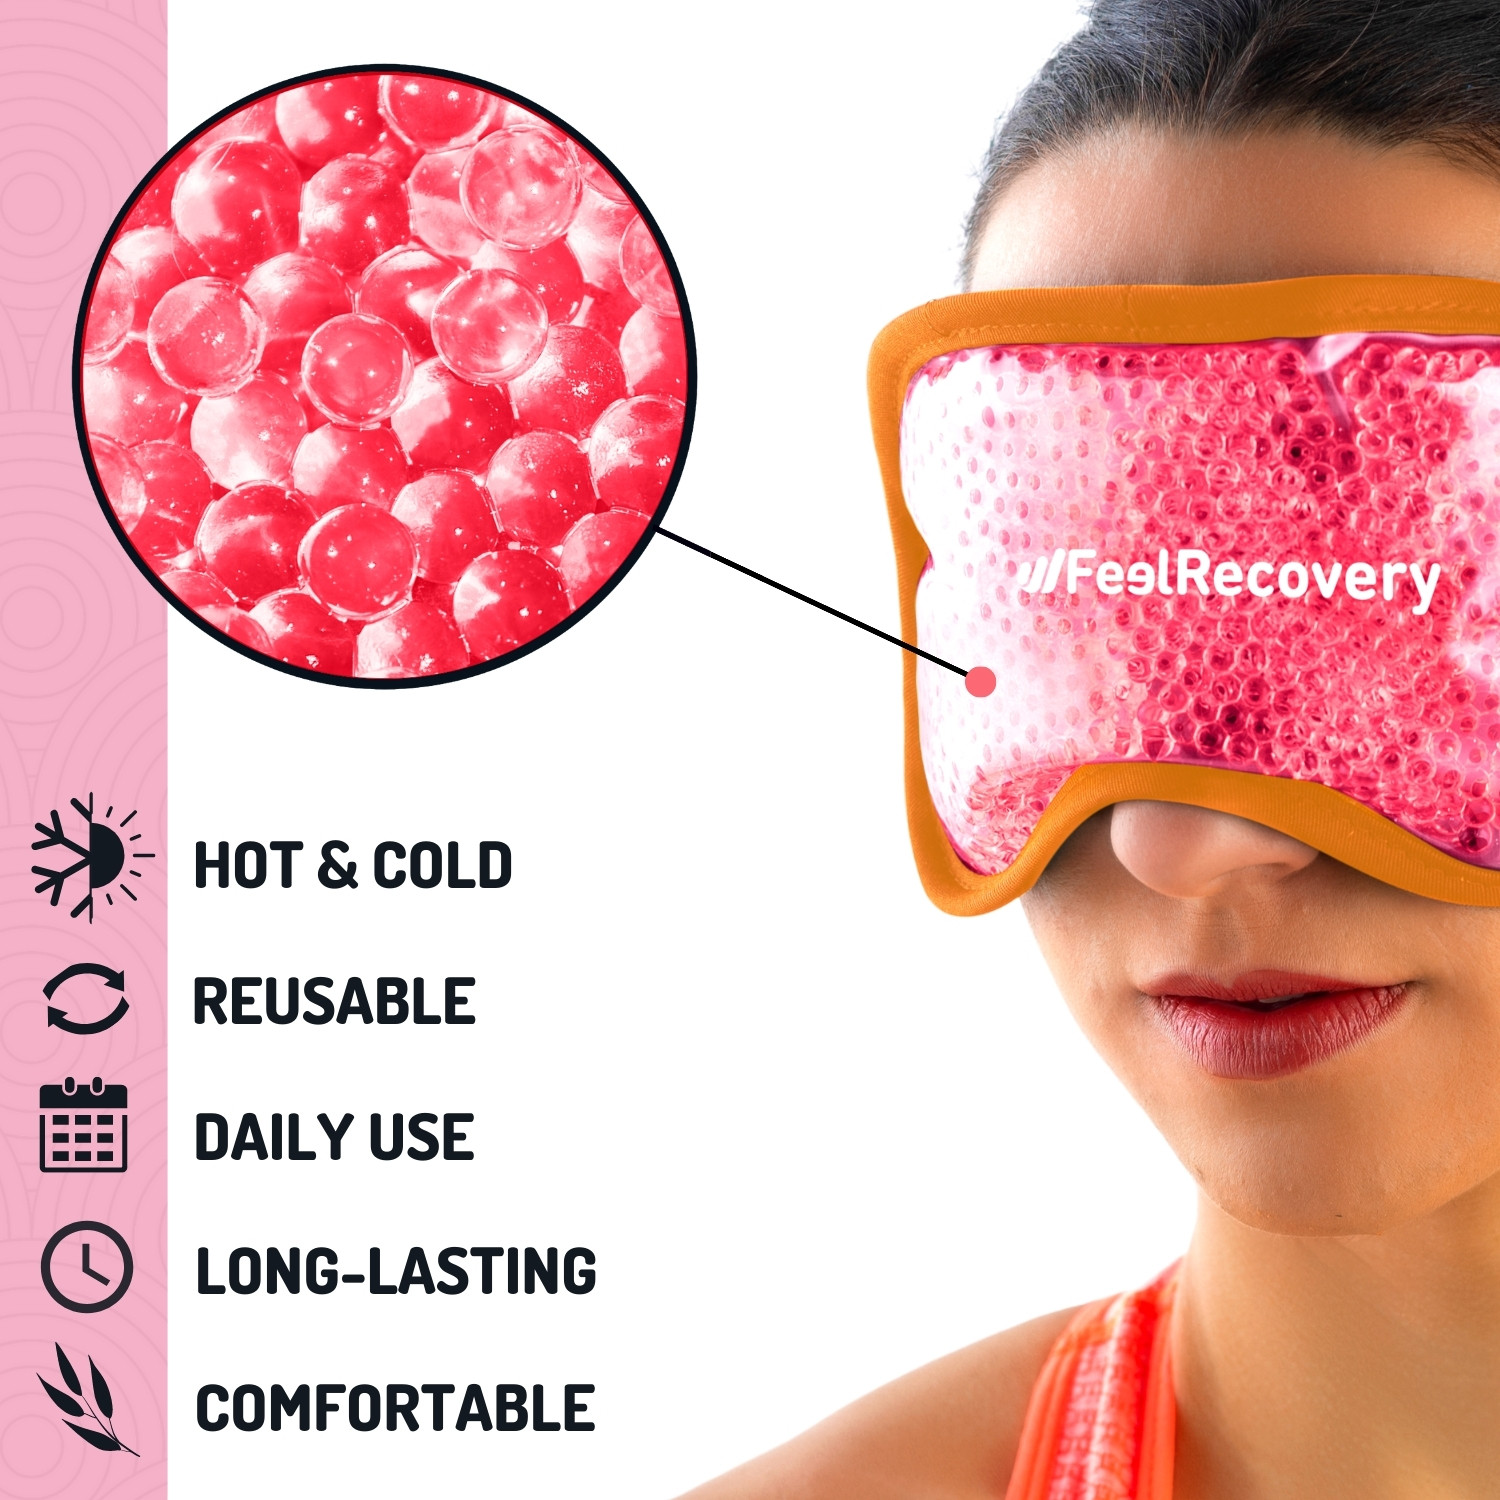
Gel Eye Mask for Puffy Eyes (Orange/Pink)
$11.95 -
Gel Eye Mask for Puffy Eyes (Purple/Turquoise)
$11.95 -
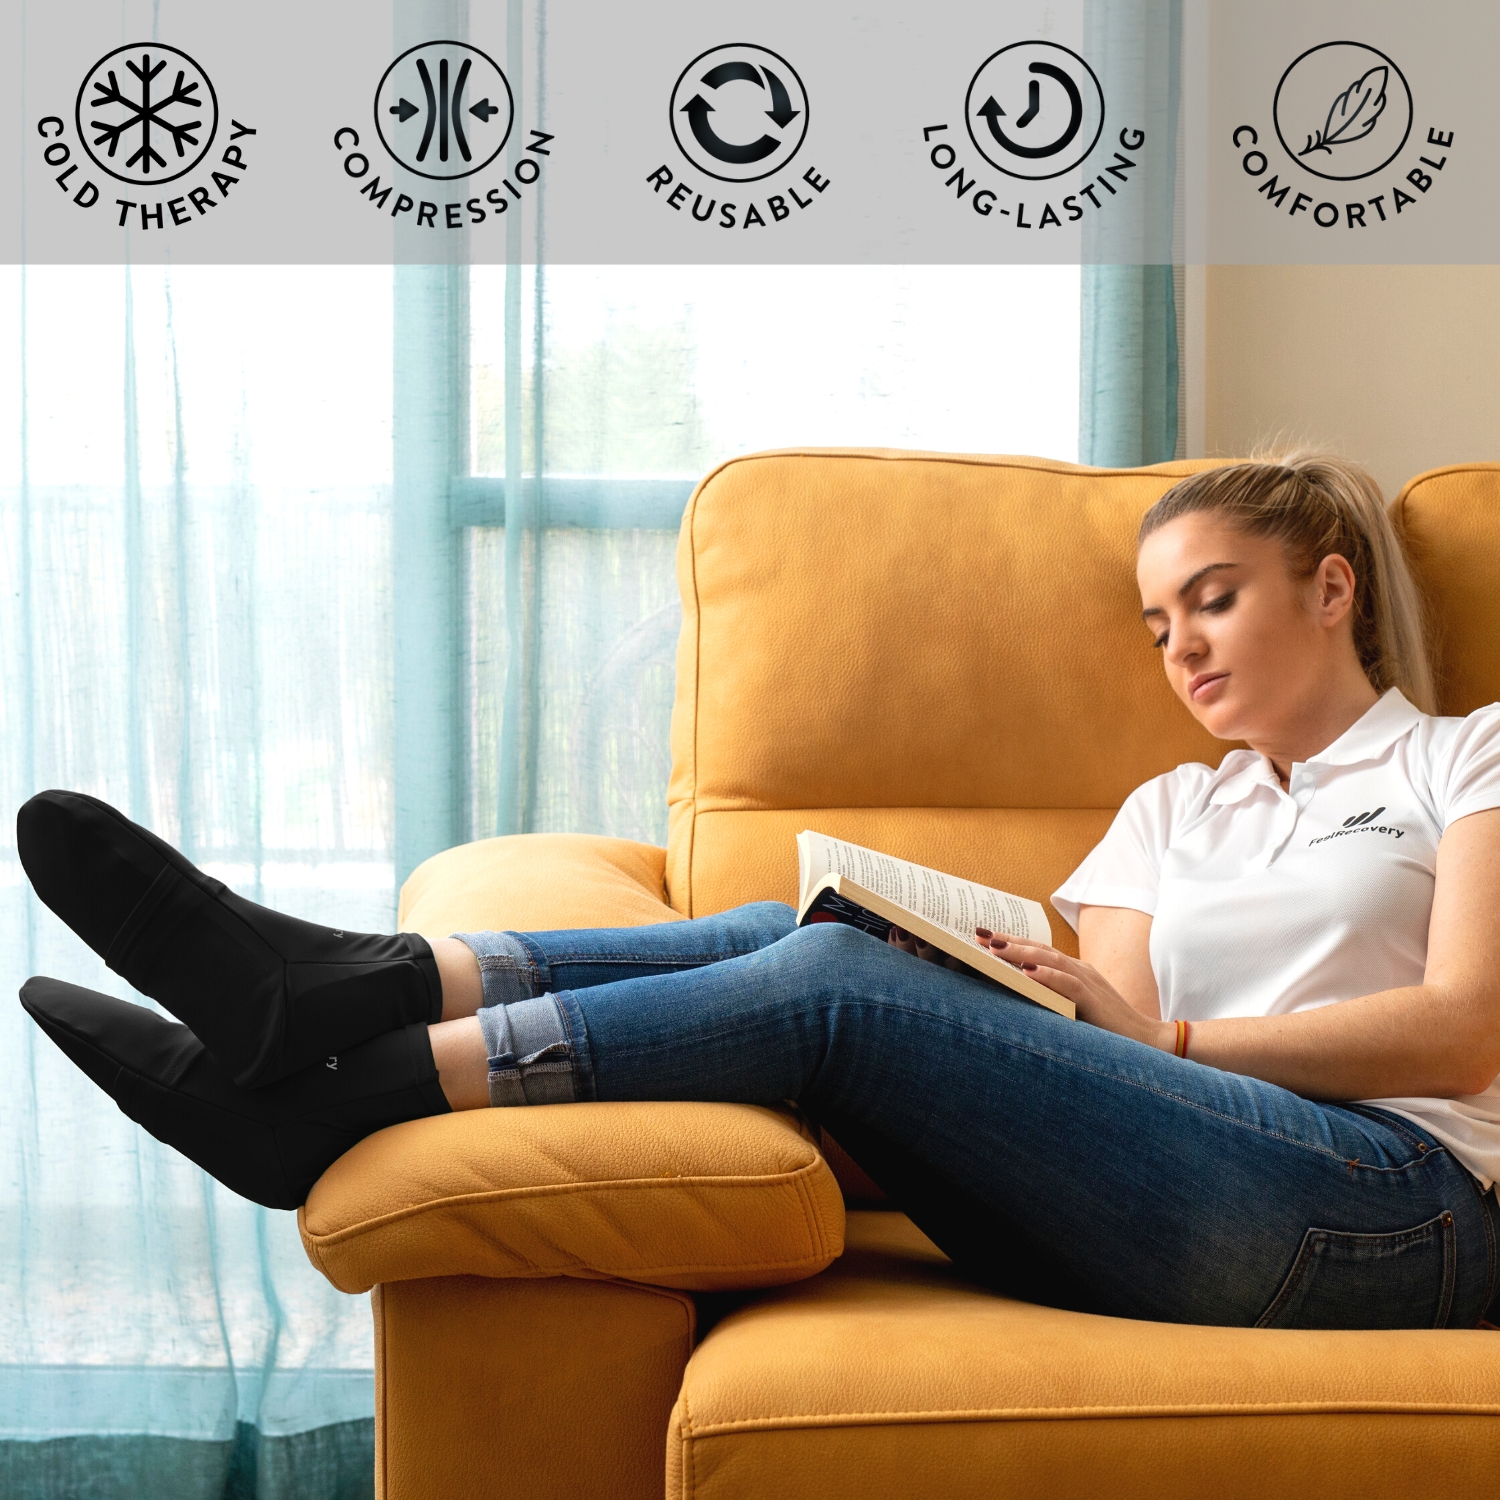
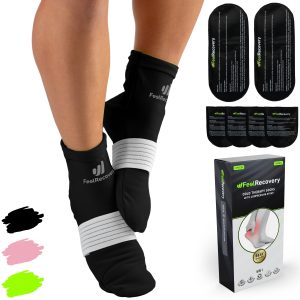
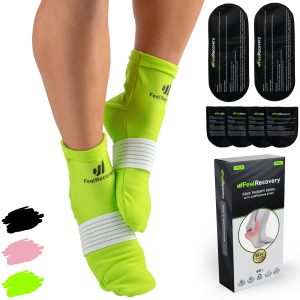
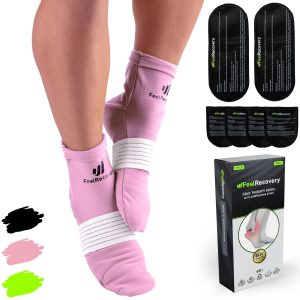
Ice Pack for Foot - Cold Therapy Socks (Black)
$24.95 -
Ice Pack for Foot - Cold Therapy Socks (Green)
$24.95 -
Ice Pack for Foot - Cold Therapy Socks (Pink)
$24.95 -
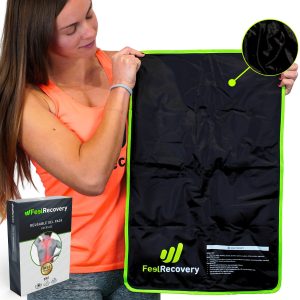
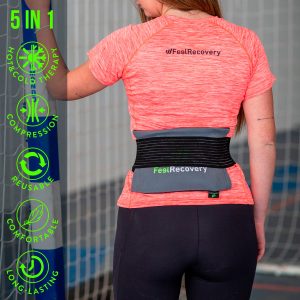
Reusable Extra Large Ice Packs for Back & Legs Pain
$29.95 -
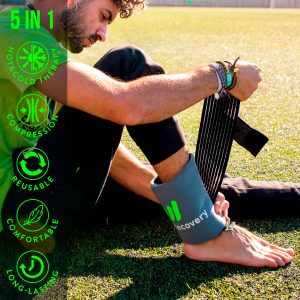
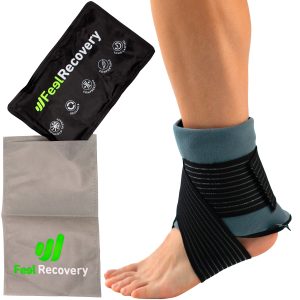
Reusable Gel Ice Packs for Ankle & Foot with Compression Band
$19.95 -
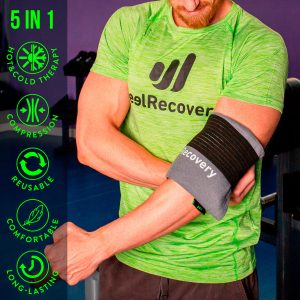
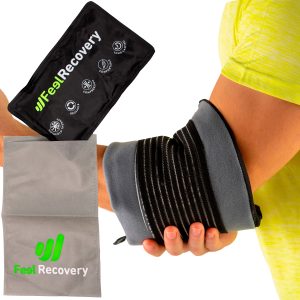
Reusable Gel Ice Packs for Elbow & Arms with Compression Band
$19.95 -
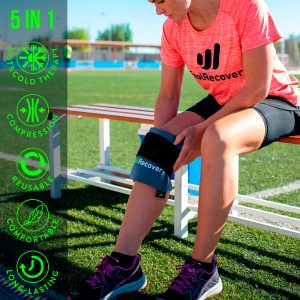
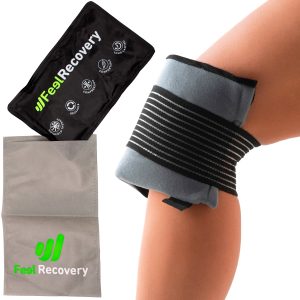
Reusable Gel Ice Packs for Knees with Compression Band
$19.95 -
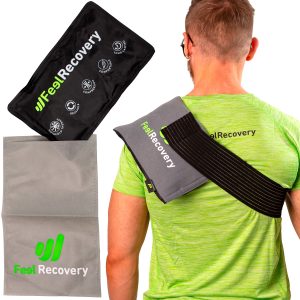
Reusable Gel Ice Packs for Shoulder & Back with Compression Band
$19.95 -
Reusable Gel Ice Packs with Compression Band for Sports Injury
$19.95 -
Reusable Ice Pack for Neck & Shoulders Injuries
$24.95


How are hot and cold therapies performed correctly to recover and reduce inflammation?

As in any treatment, in heat and cold therapies, protocols must be followed to achieve the improvement of the injuries:
Protocol for applying cold or cryotherapy
You need to follow a series of steps with hot or cold gel packs. Below, we will explain what to do:
- Cooling the pad: The gel pack must be placed in the freezer in advance. The recommended time is approximately 2 hours to reach the optimum temperature.
- Use the first 48-72 hours: It is important to place it on the affected area for the first 48-72 hours after the injury. Intervals of 10 minutes should be done every hour, however the time will depend on the recommendation of the specialist.
- Continue after 72 hours: After the swelling and edema have diminished it is recommended to continue with cryotherapy. The aim is to improve the relaxation of the affected muscle, tendons and ligaments, providing flexibility and mobility.
- Take into account the severity of the injury: You should bear in mind that the greater the damage, the longer the exposure to cold therapy should be.
- Do not place directly on the skin: Direct cold on the skin can cause burns and therefore other consequences. You should always consider placing a cloth or wrapping it in a cover.
- Rest interval: The rest interval will depend on the patient's rest. When the patient is resting, it can be 2 hours, but if it is not, it should be reduced to 1 hour.
Protocol for applying thermotherapy or heat therapy
Using bags filled with hot gel is also an excellent option for improving symptoms of pain and inflammation. Follow the steps below to enjoy their benefits:
- Heat the pad: There are several options to heat the pack, it can be in microwave or in a water bath. The time of exposure to heat will depend on the manufacturer's indications, approximately 30 seconds in the microwave.
- Protecting the skin: Before placing the pad it is important to protect the skin with a cloth or wrap it in a cover. This is to avoid burns on the skin in the affected area.
- Apply to the area of the injury: It should be placed on the affected area at intervals of 10 to 20 minutes, leaving it to rest for 1 hour. With this exposure time, heat penetration into the deeper tissues is guaranteed.
- Avoid in the first 48 to 72 hours: Heat is never recommended in the first hours after the injury because it produces more inflammation.
- Do not place on open skin lesions: Heat should always be avoided on open wounds, burns, or on circulation problems.
- Extreme caution in cardiovascular patients: Extreme caution should be taken in patients treated with anticoagulants or suffering from heart disease.
How do you use heat or cold gel packs to reduce inflammation?
Gel-filled bags for cold or heat must be used correctly to guarantee the desired effect. The process of cooling or heating is very simple, but if you have no idea how to do it pay attention to these steps:
Use in cold
Follow the recommendations below for using cold gel packs:
- Place in the freezer or refrigerator: Gel packs should be placed in the freezer or refrigerator for at least 2 hours to ensure optimal results.
- Test the temperature: The temperature should be tested by hand to see if it is suitable to the touch. If it is not, it should be left in the freezer longer.
- Wait if it is too cold: If it is too cold, it is better to wait a few minutes outside the freezer before using it.
- Place directly on the affected area: Our gel packs can be placed directly on the area. They do not require a cover or cloth for application, some models even have a soft fabric on one side. However, other brands of gel packs require protection with a skin cloth.
- Do not exceed the exposure time: This therapy is especially indicated for exposure times of no more than 30 minutes. Under no circumstances should this time be extended to avoid damage or burns to the skin.
- Always elevate: Cryotherapy should always be combined with elevation of the affected area to improve inflammation and oedema.
- Cooling down again: After the exposure time is over, the gel pad should be returned to the freezer to be used again.
- Monitoring the skin of the area: It is necessary to evaluate every 5 minutes the skin of the affected area to avoid any damage. In case of discoloration or redness, its use should be immediately suspended.
- Repeat several times a day: A good cryotherapy treatment should include several cycles of exposure during the day, it is not enough to just apply it once. This guarantees good results for swelling and pain. Always remember that any cryotherapy treatment must be supervised by a specialist.
Hot use
If you require the use of thermotherapy it is important to know that our packs are not recommended to be used in hot weather. However, they allow for easy heating using a microwave.
For this process follow the following recommendations:
- Heat the pad: Use a microwave and set it at 800W for 30 seconds. If you can't do it with that power, heat it up little by little until you reach the right temperature.
- Checking the temperature: After the time has passed, remove the pad from the microwave and check to see if it is hot.
- Massage the gel: It is necessary that all the gel content of the pack is heated homogeneously. It is therefore important that it is massaged and there is a better distribution of heat. If it is not completely warm, let it cool down to temperature and heat it up again.
- Heat again: If you do not find the correct temperature you can heat again for 10 seconds.
- Temperature exceeded: In case the temperature of the gel pack is overheated you should leave it outside the microwave. Also, you should wait for it to cool down to room temperature before starting the heating process.
- Never heat frozen: Gel packs should always be heated at room temperature, never if they are frozen.
- Supervise the heating: If you observe a dilation of the pad, stop the heating process immediately. They usually occur when there is an excess of temperature. Wait for it to cool down before reheating it.
- Never sit or lean on the pack: Remember that gel packs are made of a material that does not support excess pressure. When someone leans or sits on the pack, the gel may break or leak. If this happens, wait for it to cool down before throwing it away.
- Do not heat in ovens: Our gel packs are not prepared to be heated in an oven, as they could suffer damage to their structure.
If you do not have a microwave at home you can use this alternative method by following these simple steps:
- Heat the water: Bring 3.5 litres of water to the boil on the cooker.
- Immerse the pad: Remove the boiled water from the cooker and place the gel pack for approximately 5 to 7 minutes. Never put the pack in the water while it is boiling on the cooker.
- Remove from water: Use blunt tweezers to avoid damaging the packaging. Then dry the gel pack with a towel or cloth.
- Check for breaks: Check for gel leaks and if there are any, dispose of them immediately.
- Check the temperature to touch: Use your hands to make sure it is the right temperature. If it is very hot, wait a few minutes to place it on the affected area.
- Use a cover: When placing it in the affected area, place the gel pack in a cover or wrap it in a cloth.