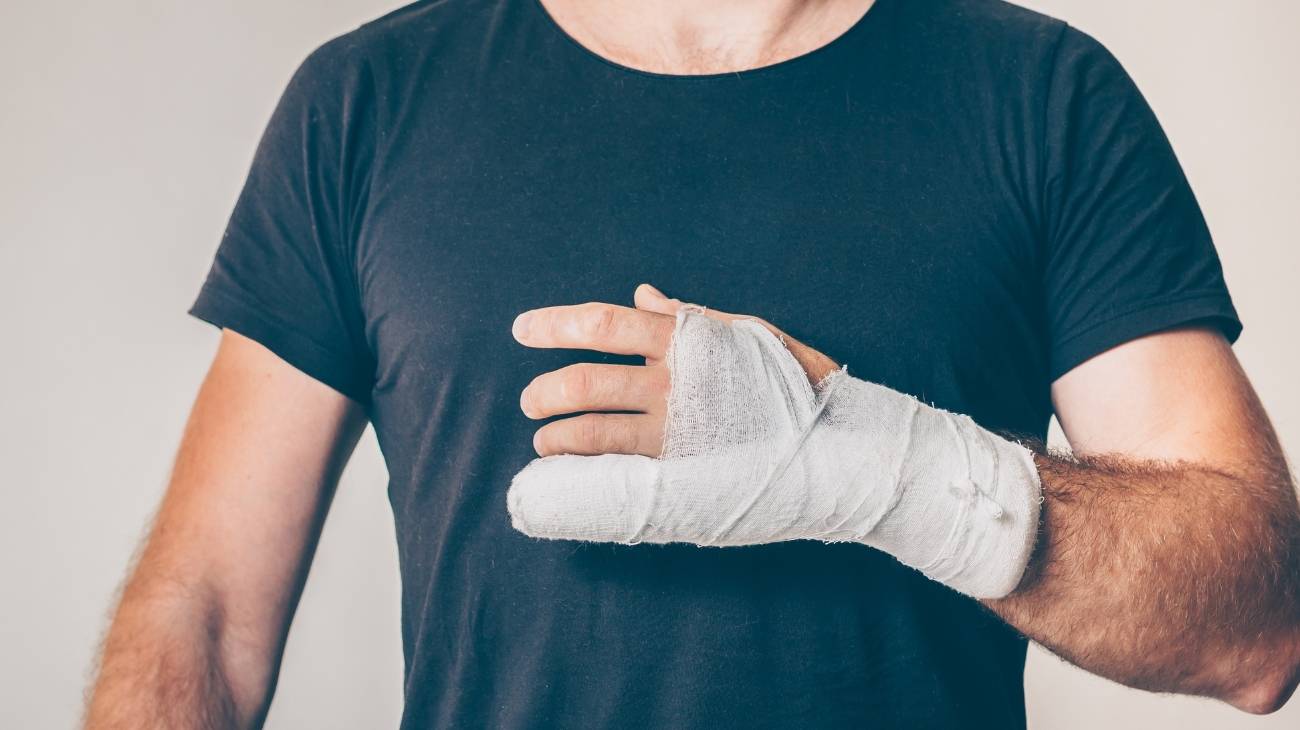
If you want to learn how to make your own handmade hot/cold gel packs to relieve all kinds of pain, you're in the right place! In this post we will show you what the main advantages and health benefits are and how to make them at home.
Above all, because heat and cold therapies are widely recommended to treat critical physical injuries, muscle sprains and some chronic injuries. Want to know more? Here we go!
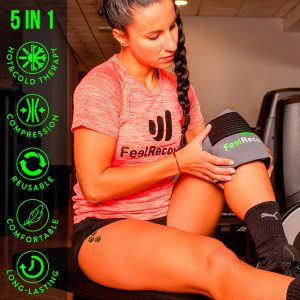
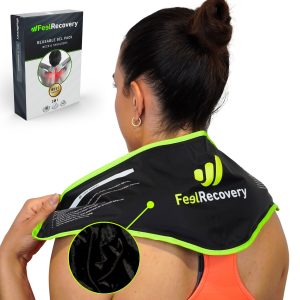
What are the advantages and health benefits of using gel packs to apply cold?

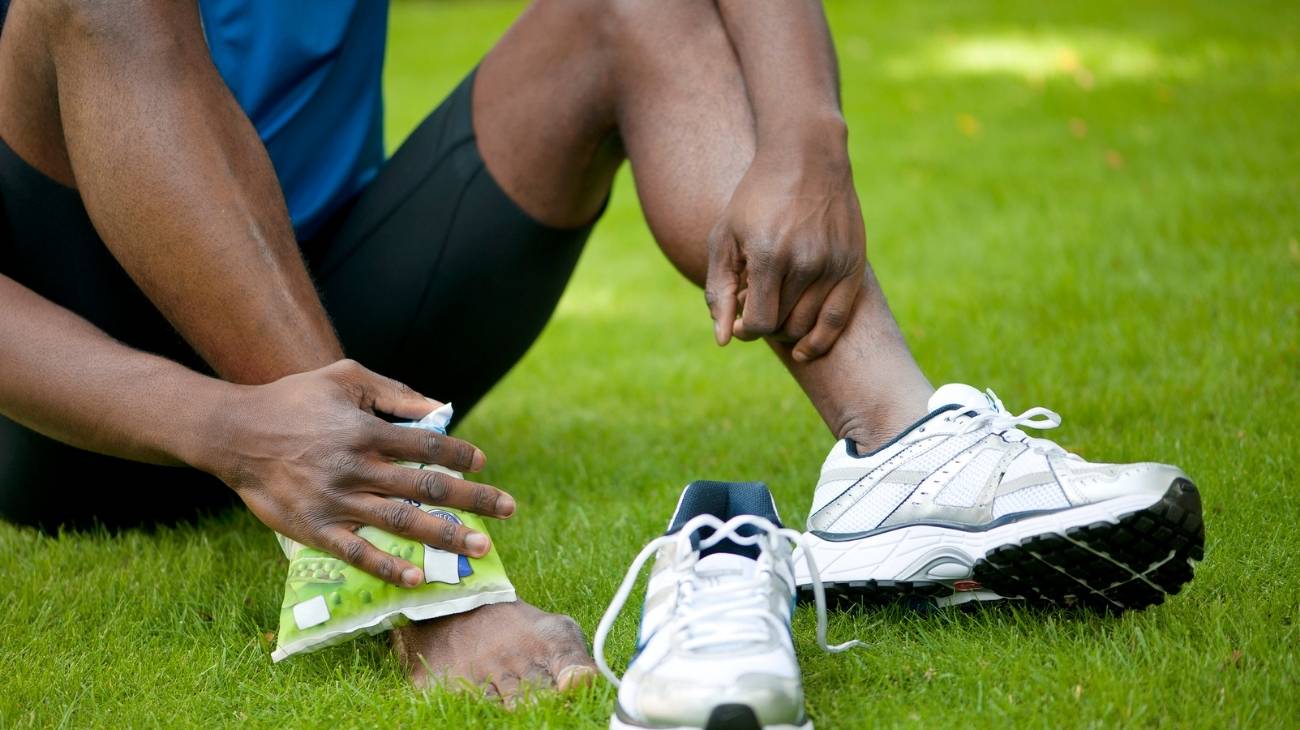
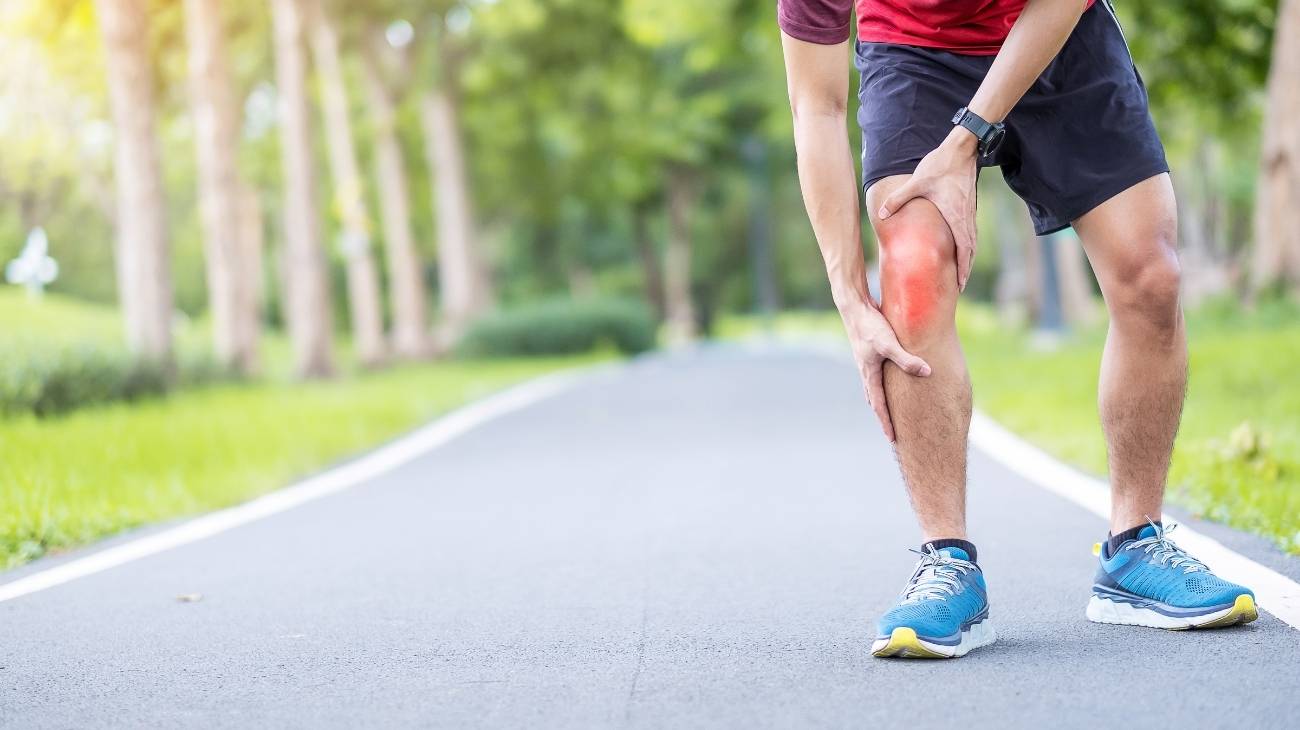
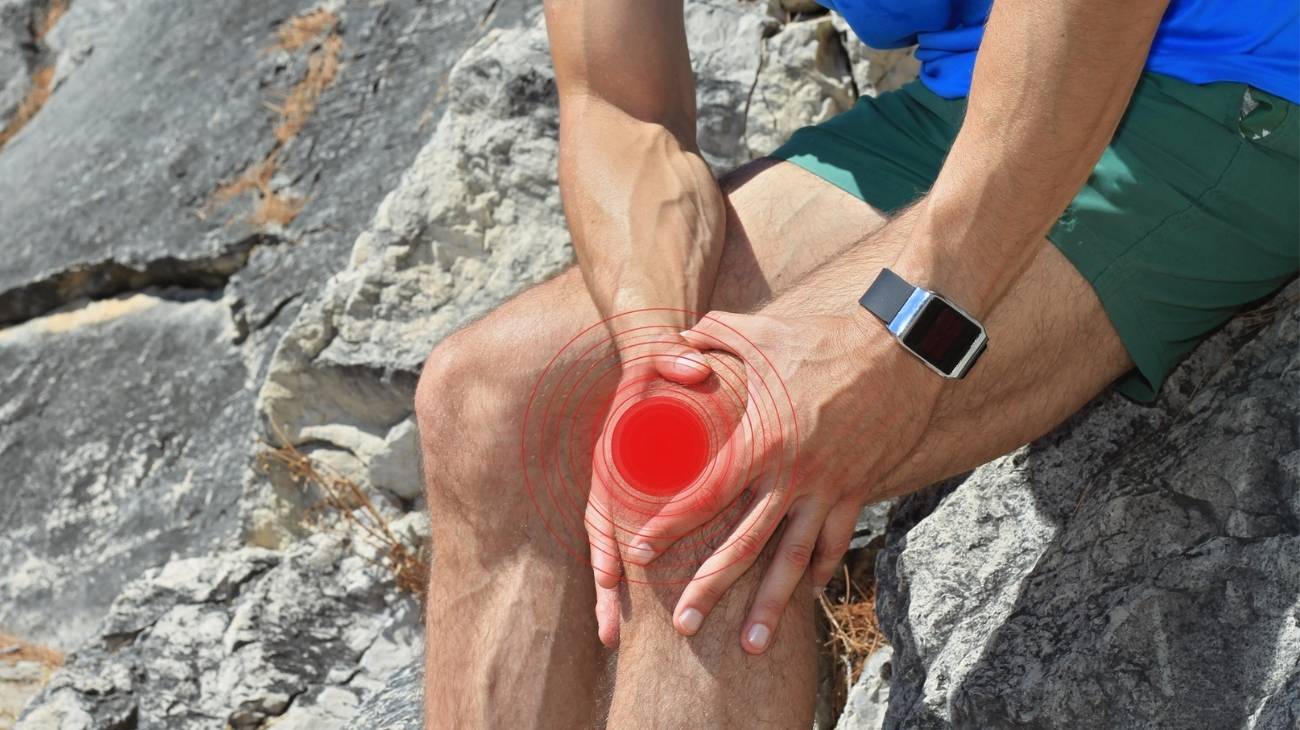
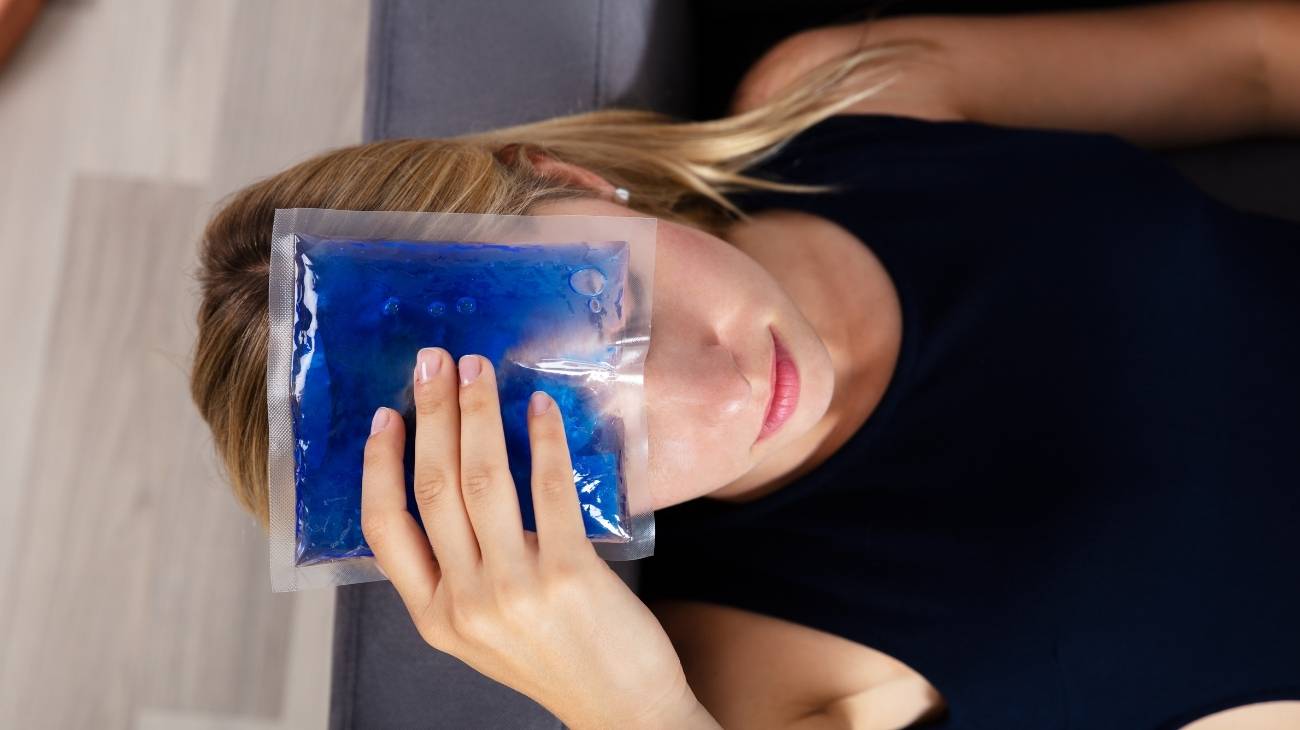
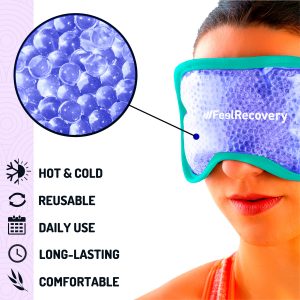
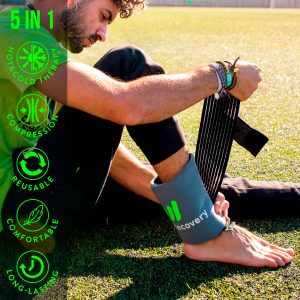
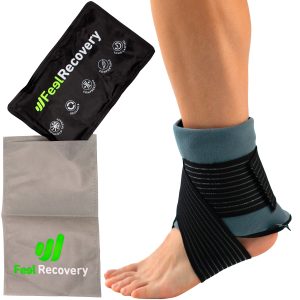
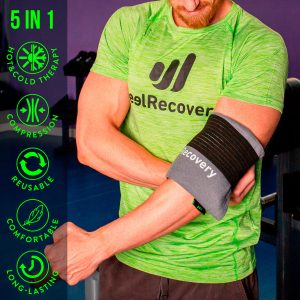
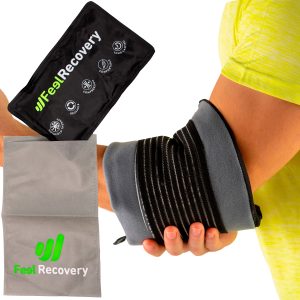
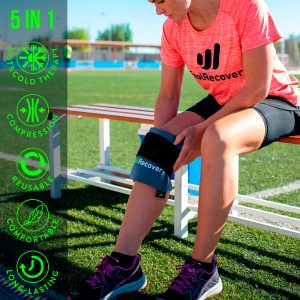
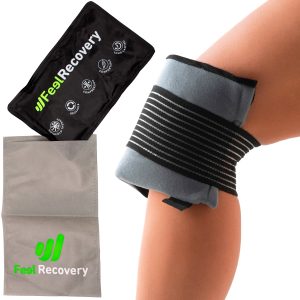
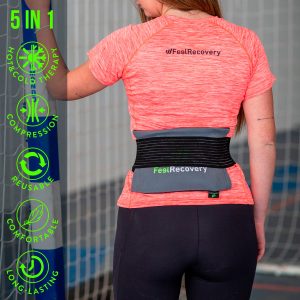
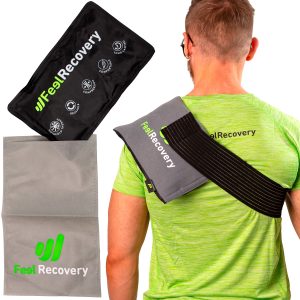
When we experience pain, discomfort, or swelling, cold packs come as a deal breaker to aid the healing process. Currently, there are a wide variety of presentations, but gel-filled bags are among the most used and recommended.
Above all, because they are reusable, flexible, versatile, easy and comfortable to use. These packs are specially designed to offer adaptability to different parts of the body.
It is therefore very timely to tell you about the countless health benefits of using gel ice packs to apply cold:
- Effective in provoking vasoconstriction, reducing inflammation and pain
- To generate a numbing or analgesic effect on the painful area.
- Prevents tissue damage if applied within the first 24-48 hours of the acute injury stage.
- Helps the healing process if applied after 48 hours when inflammation persists.
- Relieves muscle spasms.
- Ideal for use after an intense exercise session to improve pain, inflammation and energy levels.
- To treat muscle sprains and tears.
- Very effective for treating bruises and insect bites.
- Widely recommended for tendinitis and other repetitive strain injuries.
- To relieve whiplash and symptoms that occur in different types of arthritis.
Bestseller
-

Gel Eye Mask for Puffy Eyes (Gold/Black)
£9,95 -

Gel Eye Mask for Puffy Eyes (Orange/Pink)
£9,95 -
Gel Eye Mask for Puffy Eyes (Purple/Turquoise)
£9,95 -
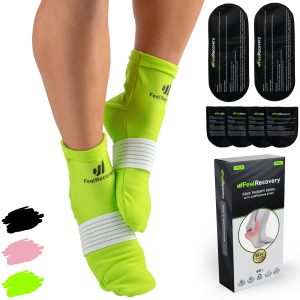
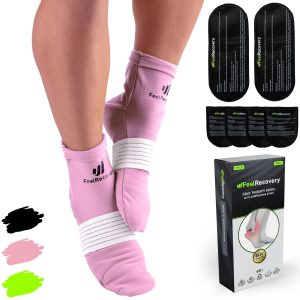
Ice Pack for Foot - Cold Therapy Socks (Black)
£21,95 -
Ice Pack for Foot - Cold Therapy Socks (Green)
£21,95 -
Ice Pack for Foot - Cold Therapy Socks (Pink)
£21,95 -
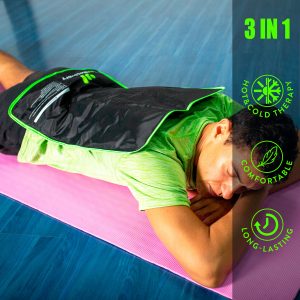
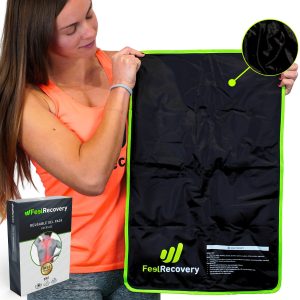
Reusable Extra Large Hot & Cold Packs for Back & Legs
£25,50 -
Reusable Gel Ice Packs for Ankle & Foot with Compression Band
£17,50 -
Reusable Gel Ice Packs for Elbow & Arms with Compression Band
£17,50 -
Reusable Gel Ice Packs for Knees with Compression Band
£17,50 -
Reusable Gel Ice Packs for Shoulder & Back with Compression Band
£17,50 -
Reusable Gel Ice Packs with Compression Band for Sports Injury
£17,50 -
Reusable Hot & Cold Packs for Neck & Shoulders Injuries
£21,95


Steps to making your own handmade hot/cold gel pack to relieve all kinds of pain

If you want to make your own hot and cold gel pack at home, take a look at the step-by-step below. Thinking about your comfort, we'll show you how to make 7 types of homemade gel packs. Each one with a different type of ingredient so that you have options to choose from according to your availability of resources.
The materials you will need are really accessible, and you will surely have them in your cupboard. So, you'll no longer have an excuse to apply cold to relieve all kinds of pain without leaving home.
Method 1: How to make gel packs with isopropyl alcohol
To make homemade gel packs using isopropyl alcohol or any medical alcohol, you will need the following ingredients:
- 1 or more resealable packs.
- Isopropyl alcohol (70%) or other type of medical alcohol.
- Vegetable dye (optional).
Once you have all the ingredients at hand, just follow the next step by step:
- Open the refillable pack.
- Place a portion of alcohol inside the pad. We suggest half a cup for each pack, however, it will depend on the size of the pad.
- For each part of alcohol you should put two parts of water.
- Place vegetable dye as an option.
- Seal the pack and make sure there is no air inside the pad or leakage.
- Shake the packvigorously to mix all the ingredients.
- Place in the freezer for at least 2 hours, or freeze for use when needed.
The result will be a very flexible gel pack with a gel texture. This effect is produced by the differences in the freezing point of water and alcohol will prevent 100% freezing. Thanks to this, it will easily adapt to different parts of the body. And, as it thaws it will be even more malleable. If you want a less dense gel, you should decrease the amount of water from 1 part water to 1 part alcohol.
Method 2: How to make gel packs with liquid detergent?
This is another variation to the homemade gel packs that you can make using liquid detergent. For this option you will need:
- Resealable bags of the size you want in the amount you need.
- Liquid soap for washing.
Now, you only have to follow these steps:
- Fill the resealable bag in half with liquid soap. If possible, use a double bag to prevent leakage.
- sure you get all the air out of the bag before you seal it.
- Let it freeze for at least 2 hours, or leave it in the freezer to use it as needed.
A very easy and convenient option that looks a lot like commercial gel packs. The result will be a very comfortable and easy to use home made gel pack that will fit your body. Because, the dishwasher has a similar consistency to the gel that will not freeze 100%, it will always remain flexible and able to retain the cold.
Method 3: How to make gel packs with hair gel?
Cold gel packs made from hair gel are also a possible option to make at home:
The ingredients you will need are:
- Resealable bags of the size and quantity you want.
- Hair gel containing alcohol.
Now, just follow these simple steps:
- Fill the bag halfway with hair gel.
- Remove as much air as possible before sealing.
- Make sure there are no leaks.
- Freeze for at least 2 hours.
However, you must ensure that the hair gel contains alcohol in its ingredients to be very effective. Otherwise, you could end up with a pad of gel that's too hard to handle. However, its flexibility will improve as it thaws.
Method 4: How to make gel packs from corn syrup?
A highly recommended option because of its flexibility and possibility to mold around knees, wrists, ankles or sore areas are homemade gel packs made from corn syrup.
To make this type of homemade gel packs you will need:
- Resealable bags in the quantity and size you want.
- Corn syrup.
To make it you only have to do the following:
- Half fill the resealable bag with corn syrup.
- Make sure there is no air in the bag before sealing it.
- Place the bag in the freezer for several hours.
- Use it whenever you want.
The result will be a pack with no harmful ingredients, which even if punctured will not be toxic. In addition, it will remain with a nice, soft and flexible texture that will not change colour or texture inside the freezer.
Method 5: How to make gel packs with antibacterial gel?
This is one of the most recommended options because the result is very similar to the gel packs you buy.
The ingredients you will need are:
- Resealable packs in the desired quantity and size.
- Antibacterial gel.
Now, you only have to follow the following instructions:
- Fill the bag in half with the antibacterial gel.
- Remove the air from the bag and seal it.
- Spread the contents over the whole pad.
- Add colouring (optional).
- Freeze for two hours.
Method 6: How to make gel packs with salt
One of the cheapest and easiest options, so you've run out of excuses to treat your injuries with homemade gel packs.
To make them you will need:
- Resealable packs in the desired size and quantity.
- 2 tablespoons of salt
- 2 cups of water.
Now, start the process by following these steps:
- Add the water to the bag.
- Add the 2 tablespoons of salt.
- Remove as much air as possible.
- Seal and place in the freezer for a couple of hours until it freezes.
The result will be a super practical and effective gel bag, as adding salt prevents freezing 100%.
Method 7: How to make an ice pack with a sponge
As a last option, you can take a clean sponge and wet it with water before putting it in the freezer for a couple of hours. Once frozen, the sponge will be firm and not very flexible. But as it thaws it will become more malleable without leaking. Also, you can put it in a baggie if you want, although it's not necessary. The best thing about this option is that it only uses water and is not harmful or toxic.